
Introduction
“Request Collector” appears to be a tool designed to facilitate the collection of leads, which are potential customers or clients who have expressed interest in a product or service.
Let’s click on the crate campaign button. Give the name and domain name for your campaign.

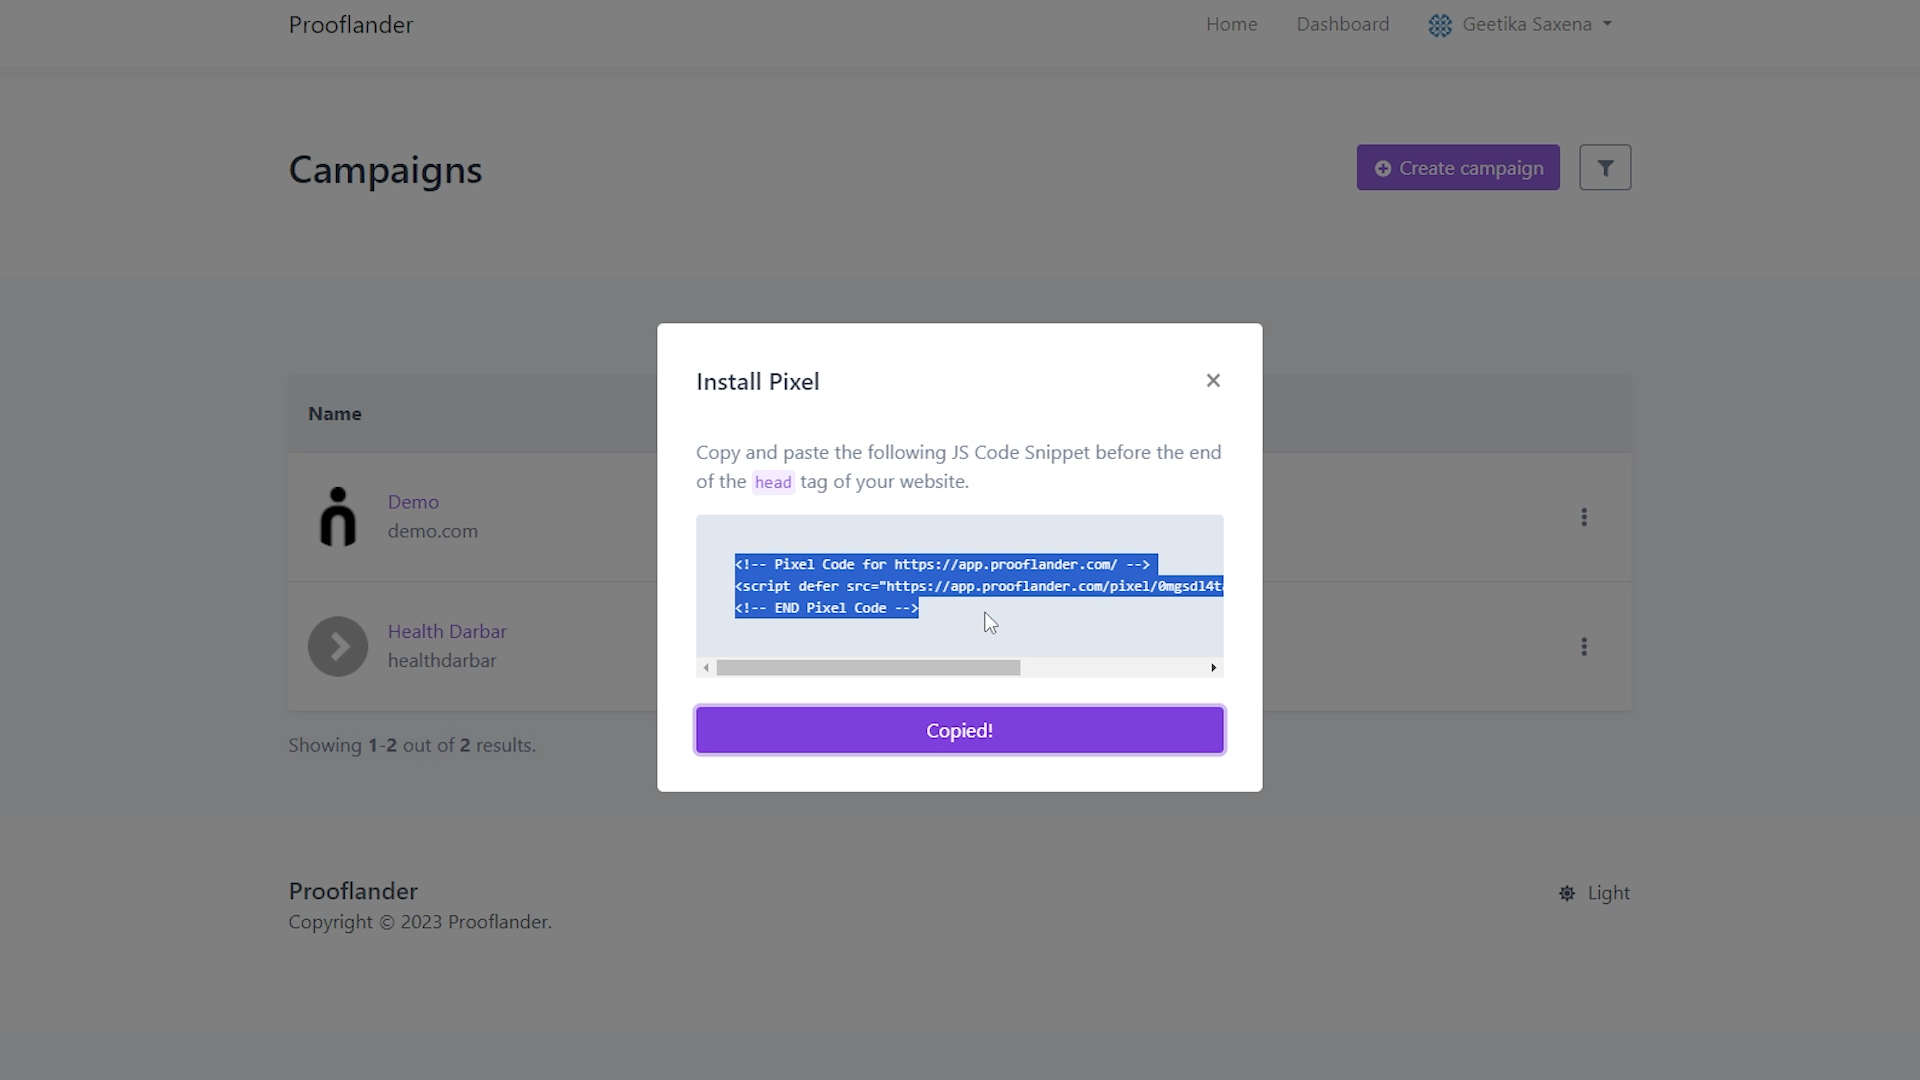
Copy pixel and paste the following JS code snippet before the end of the head tag of your website.

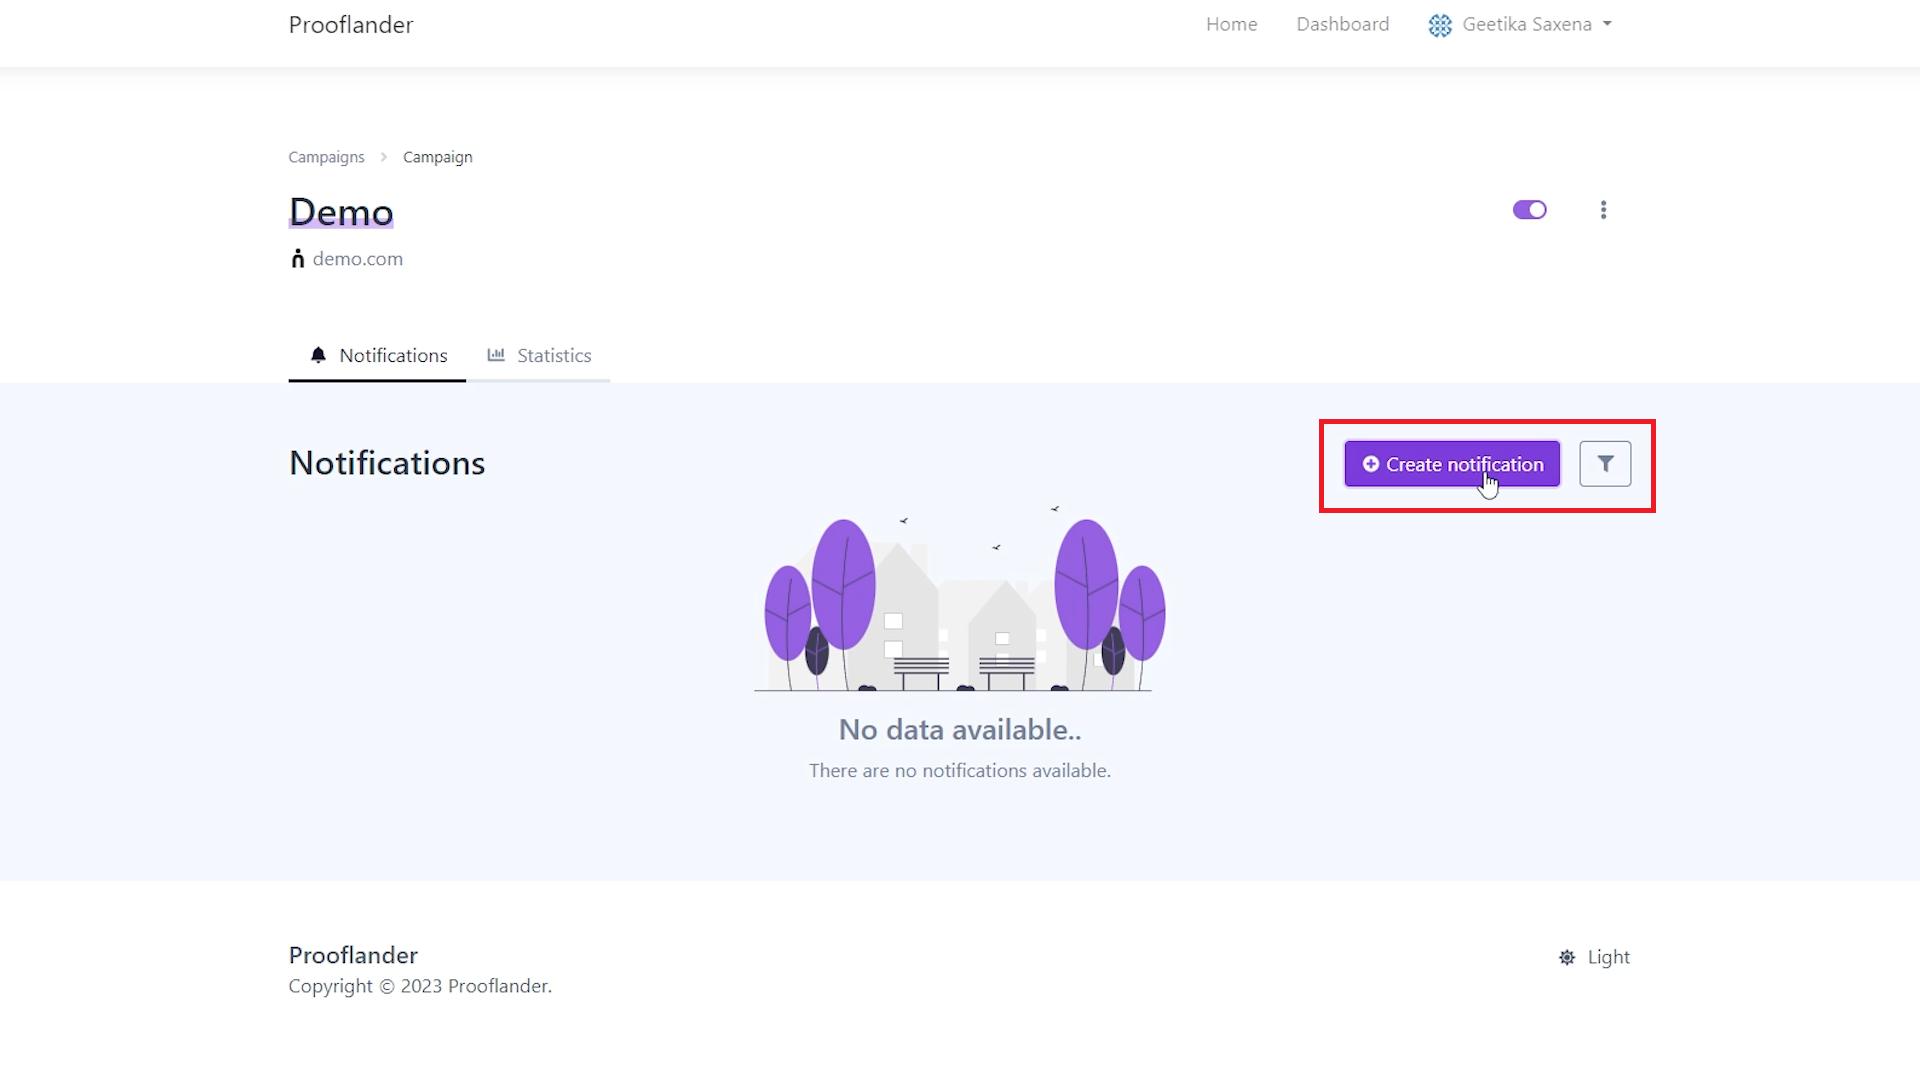
Now click on create notification button.
Select the Request Collector. Here is the preview of Request Collector notification as you see.
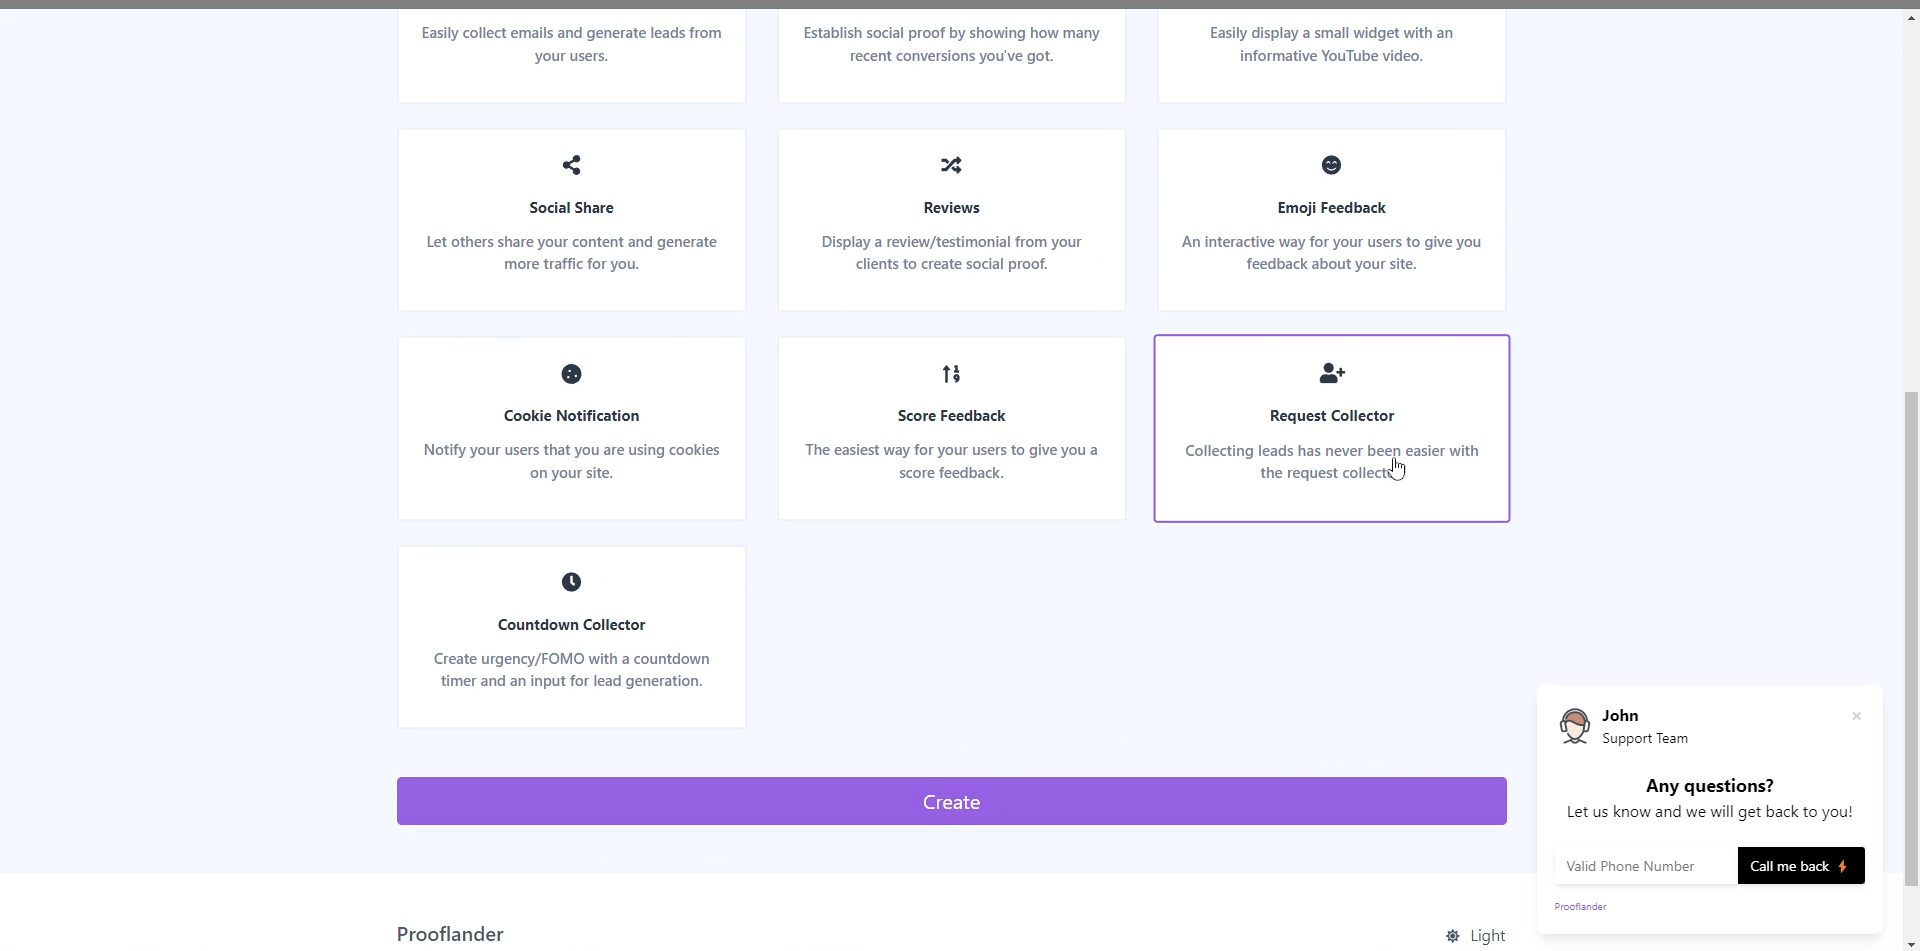 Click on create button.
 And go to the settings section. Now give the name of your notification. Here you can add Title message and Description message for your notification. Here add the image URL and image alt description. Now add your content title and content description.
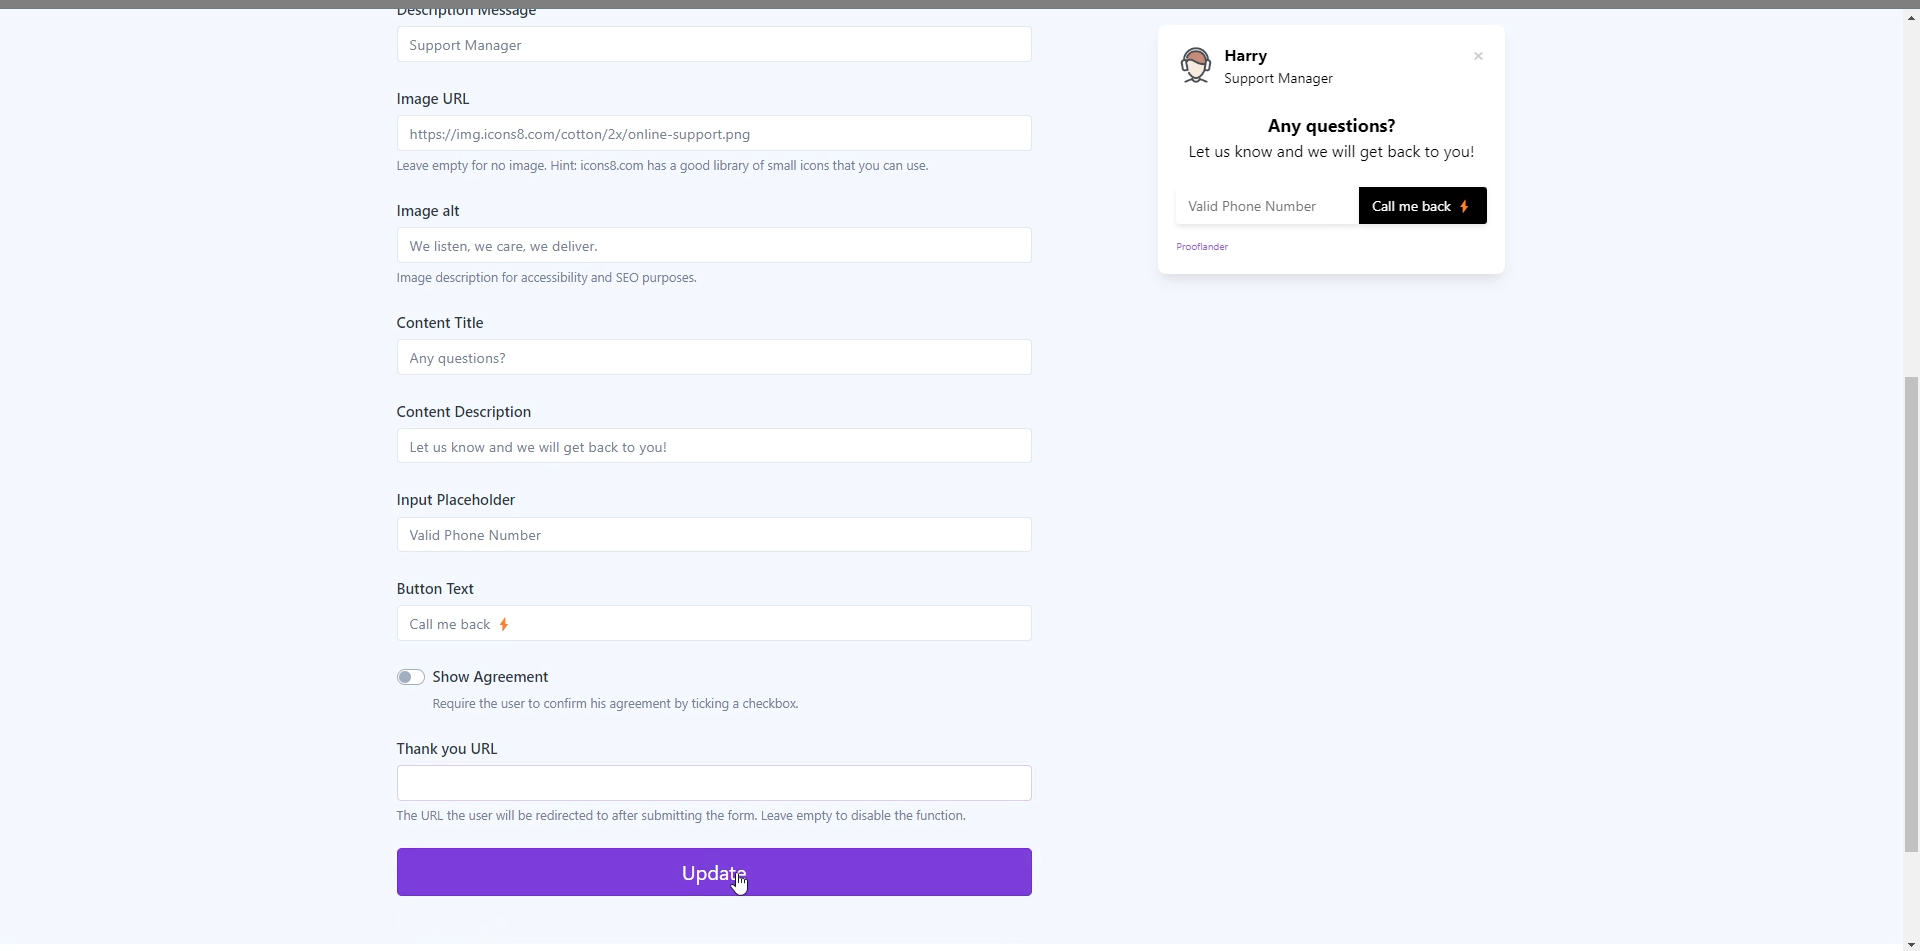
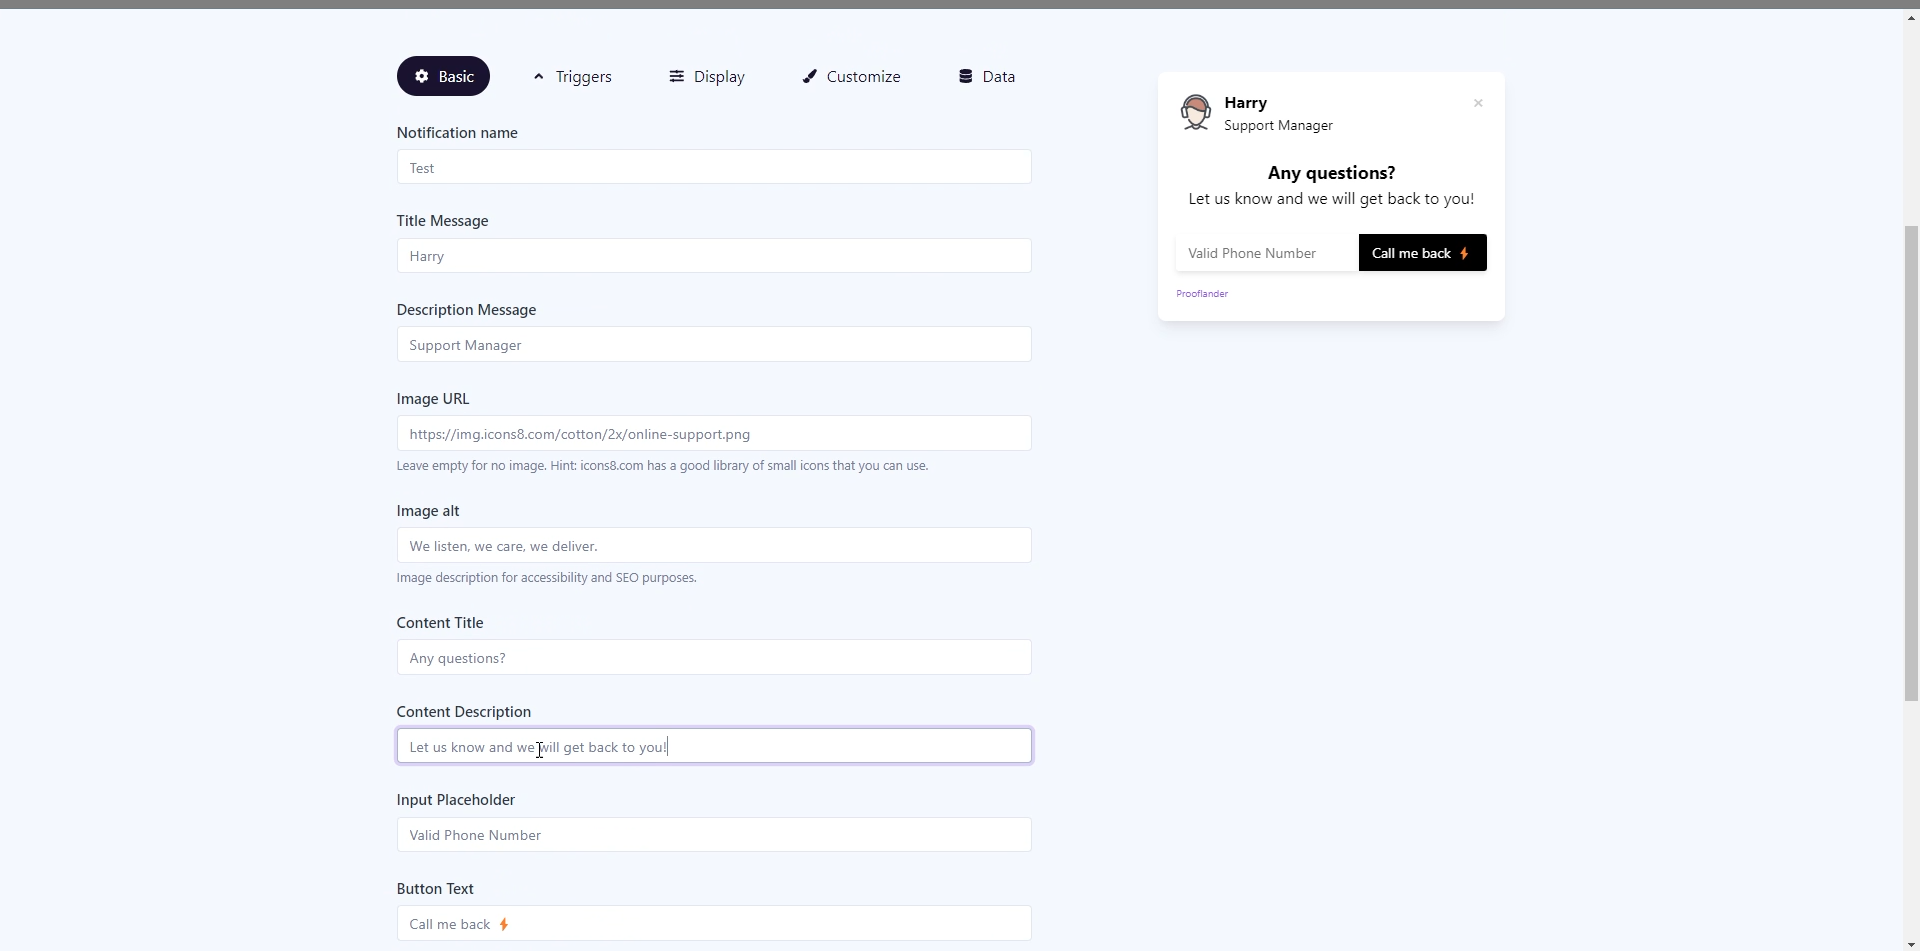 Add input placeholder name and button text. Enable show agreement if you want to show the terms and conditions. And paste the URL here. And finally add a Thankyou URL. And click on update button.
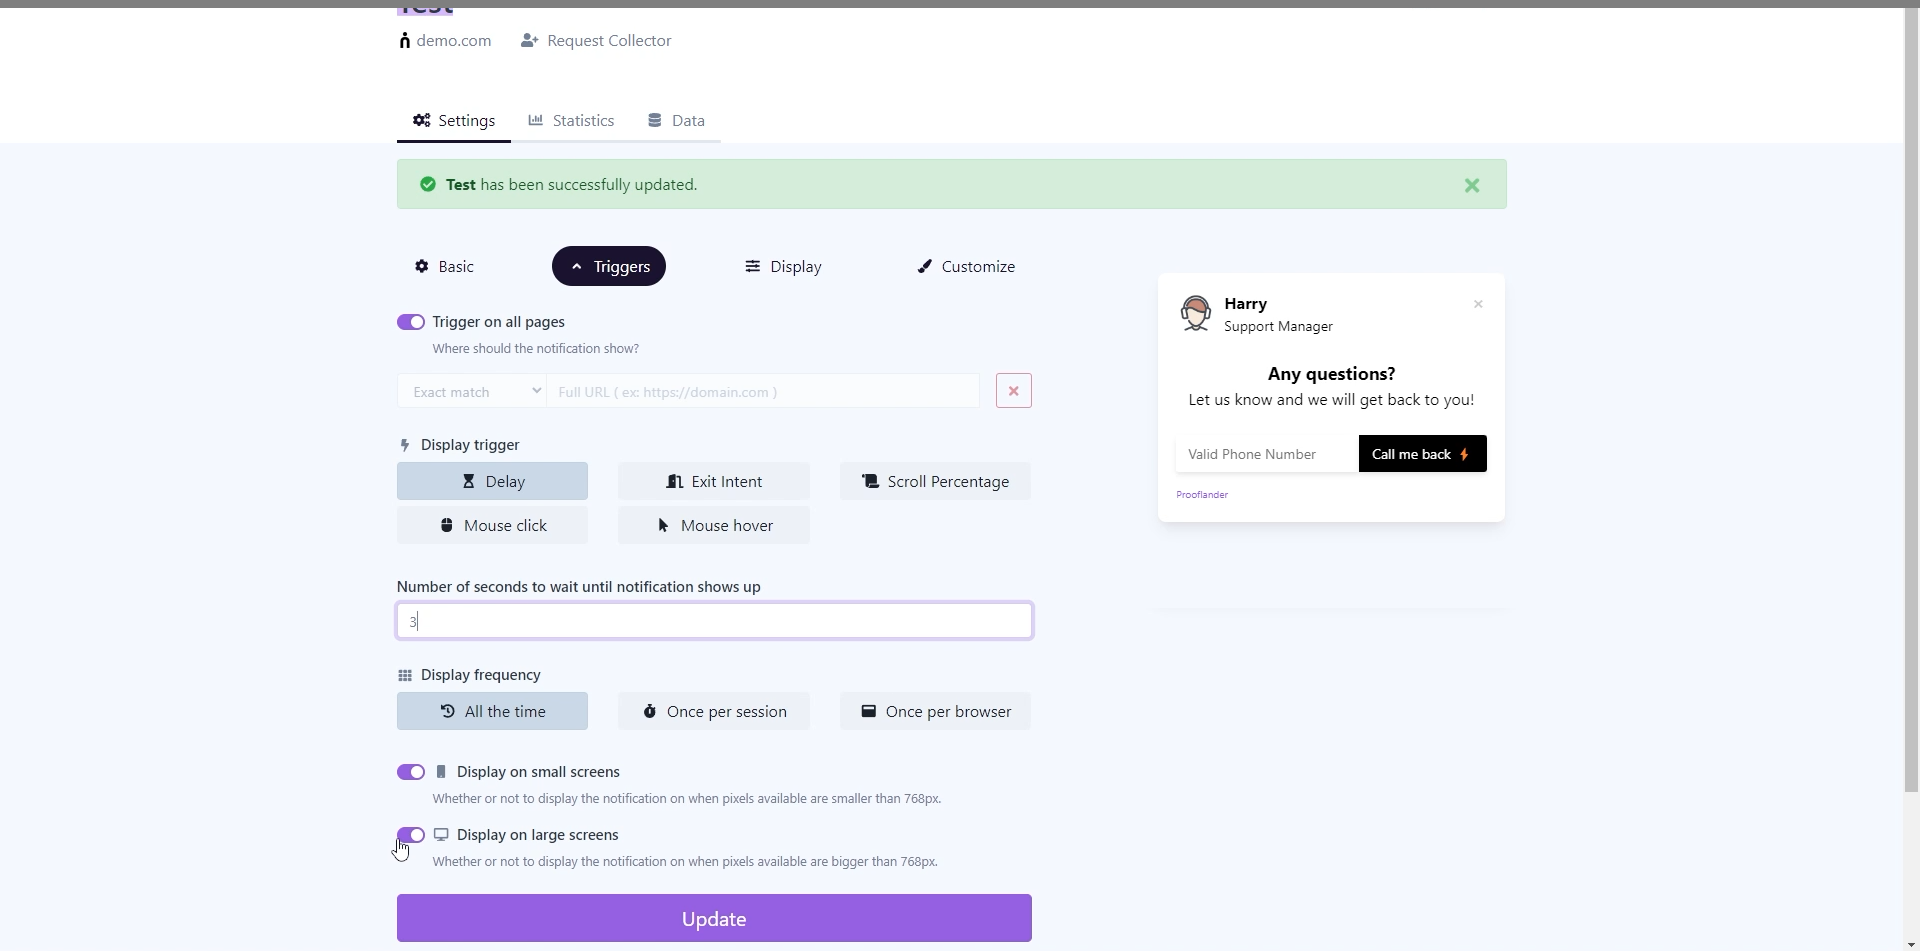
 Now go to the trigger section. In the first option you can trigger your notification on all pages. If you don’t want to it. Disable this button. And paste the URL of page. And select the option you want. You can add more trigger click on add new trigger. You can see so many display trigger options here.
Delay- That means, Notification may be delayed by a few seconds or minutes to prevent interruptions. The trigger in this case would be the notification itself, and the delay setting determines when it appears.
Exit intent – it appears that the user is about to exit the webpage or close the application.
Scroll percentage – This is usually expressed as a percentage of the total page height. For example, if a user has scrolled 50% down the page, it means they’ve reached the midpoint of the content.
Mouse click – When the system detects a mouse click on the designated element, it triggers the display of a notification.
Mouse hover – When the system detects a mouse hover over the specified element, it triggers the display of a notification. The purpose of this trigger is to offer users context-specific information, guidance, or actions that are relevant to the element they are currently hovering over.
So for now I choose the Delay. Here type the number of seconds to wait until notification shows up. Select the display frequency as all the time, once per session, and once per browser. The meaning of display on small screens is that if its enable then your notification is shows on small screen also. As well as display on large screens is that your notification is also shows on large screens. So switch them according to you. And click on update button.
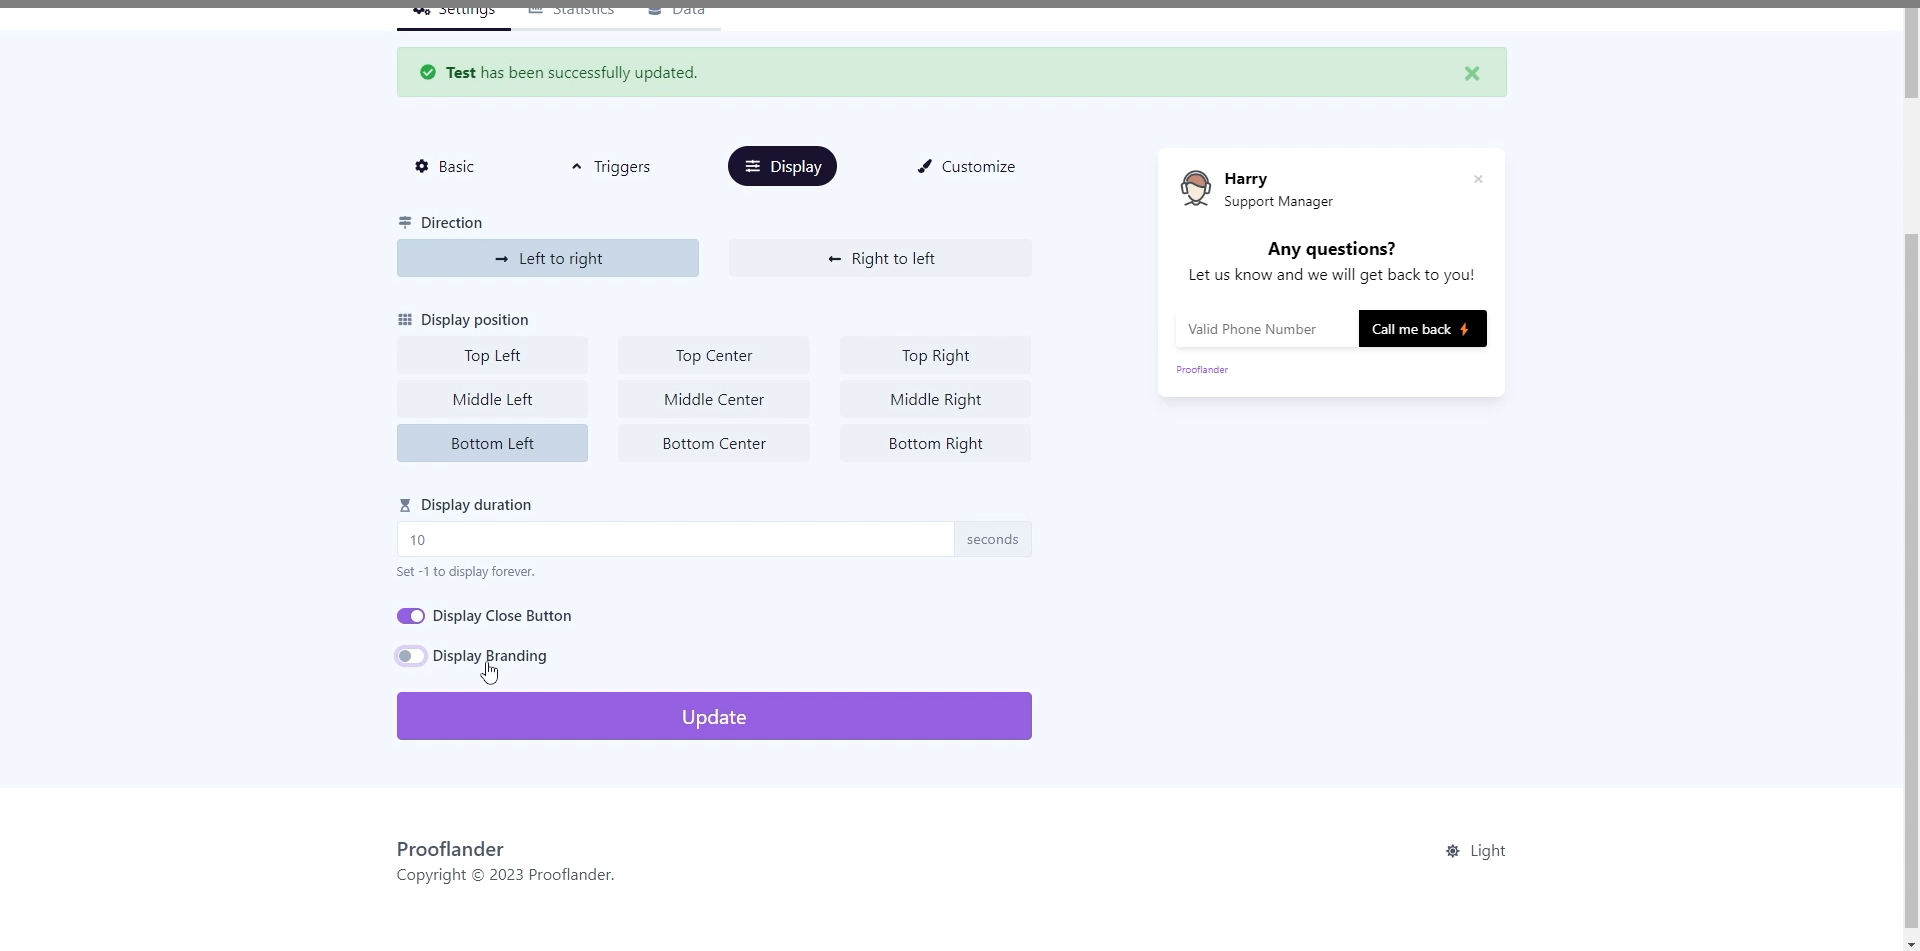
 Now go to the display section. Here you can set the direction of your notification accordingly. And the position of your notification on the display. Set the display duration of your notification if you want to display all time then set it on one. If you want to hide or show the close button of notification then enable disable it. And for branding this button is here. Now click on the update button.
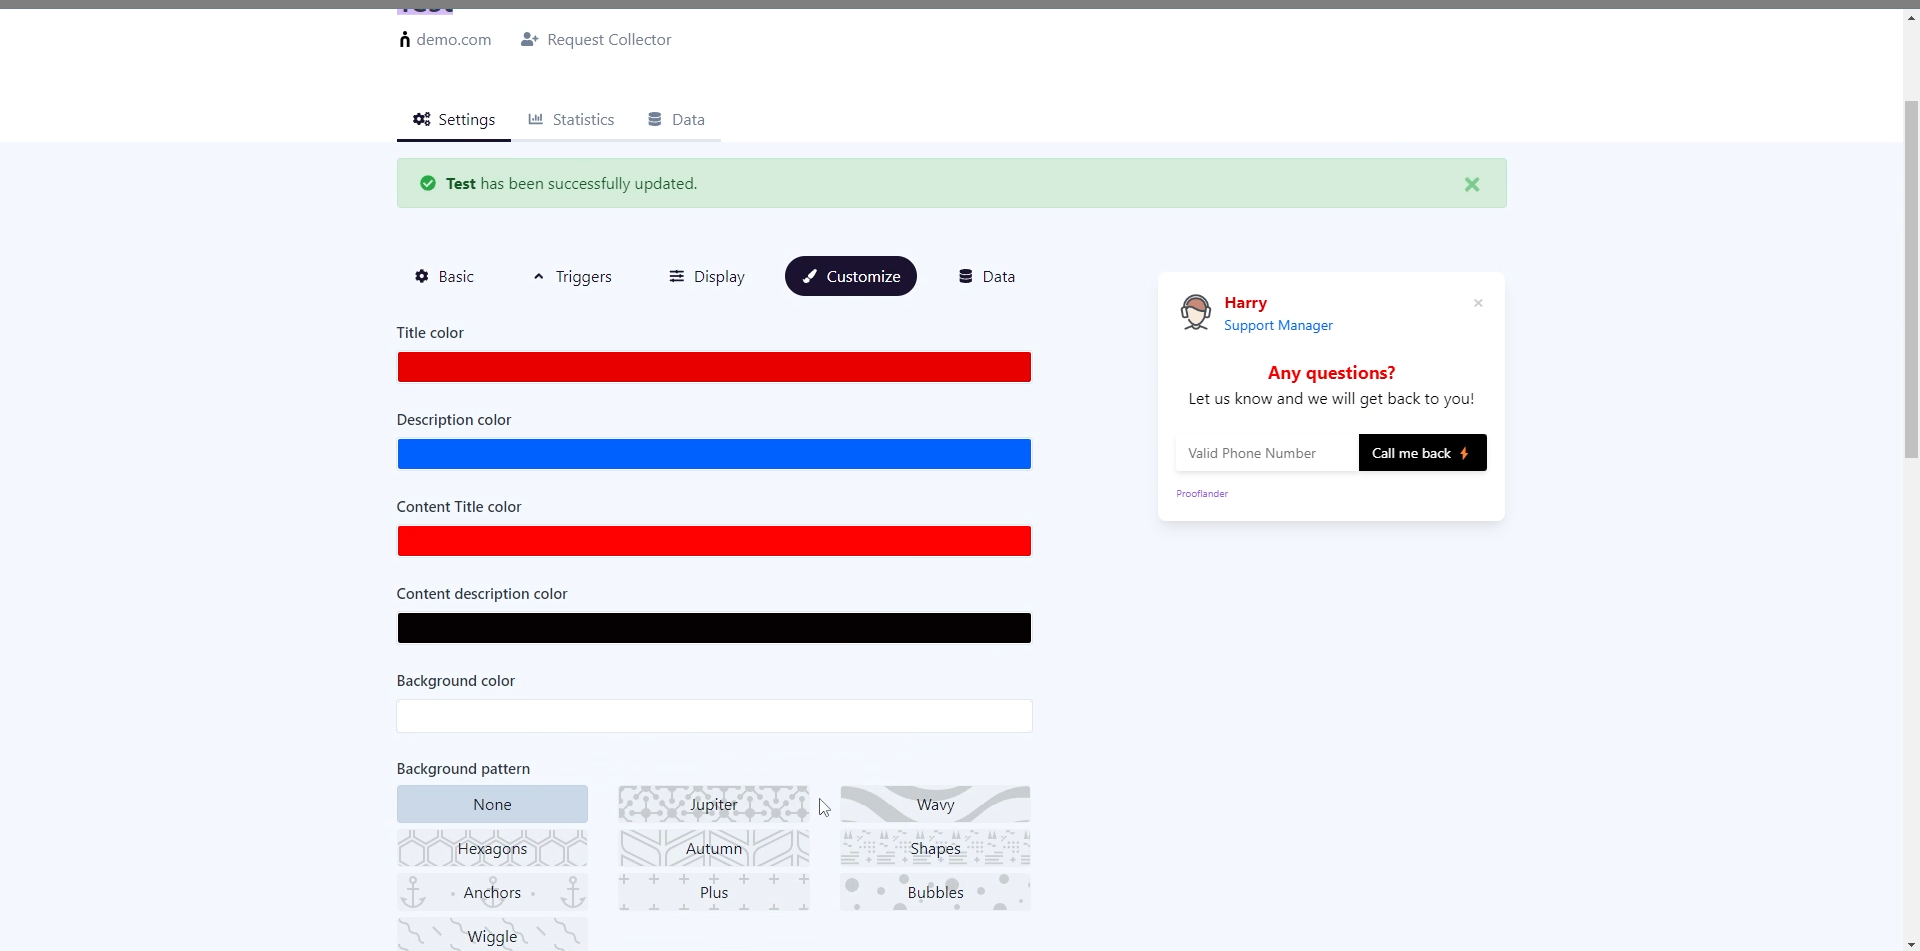
 In the customize section. Customize your notification according to you. Change the Title color and Description color of notification according to you. Also change the Content Title color and Content Description color of notification according to you. You can change the background color and background pattern for your notification. Change the button background color and button color. You can change the close button color according to you.
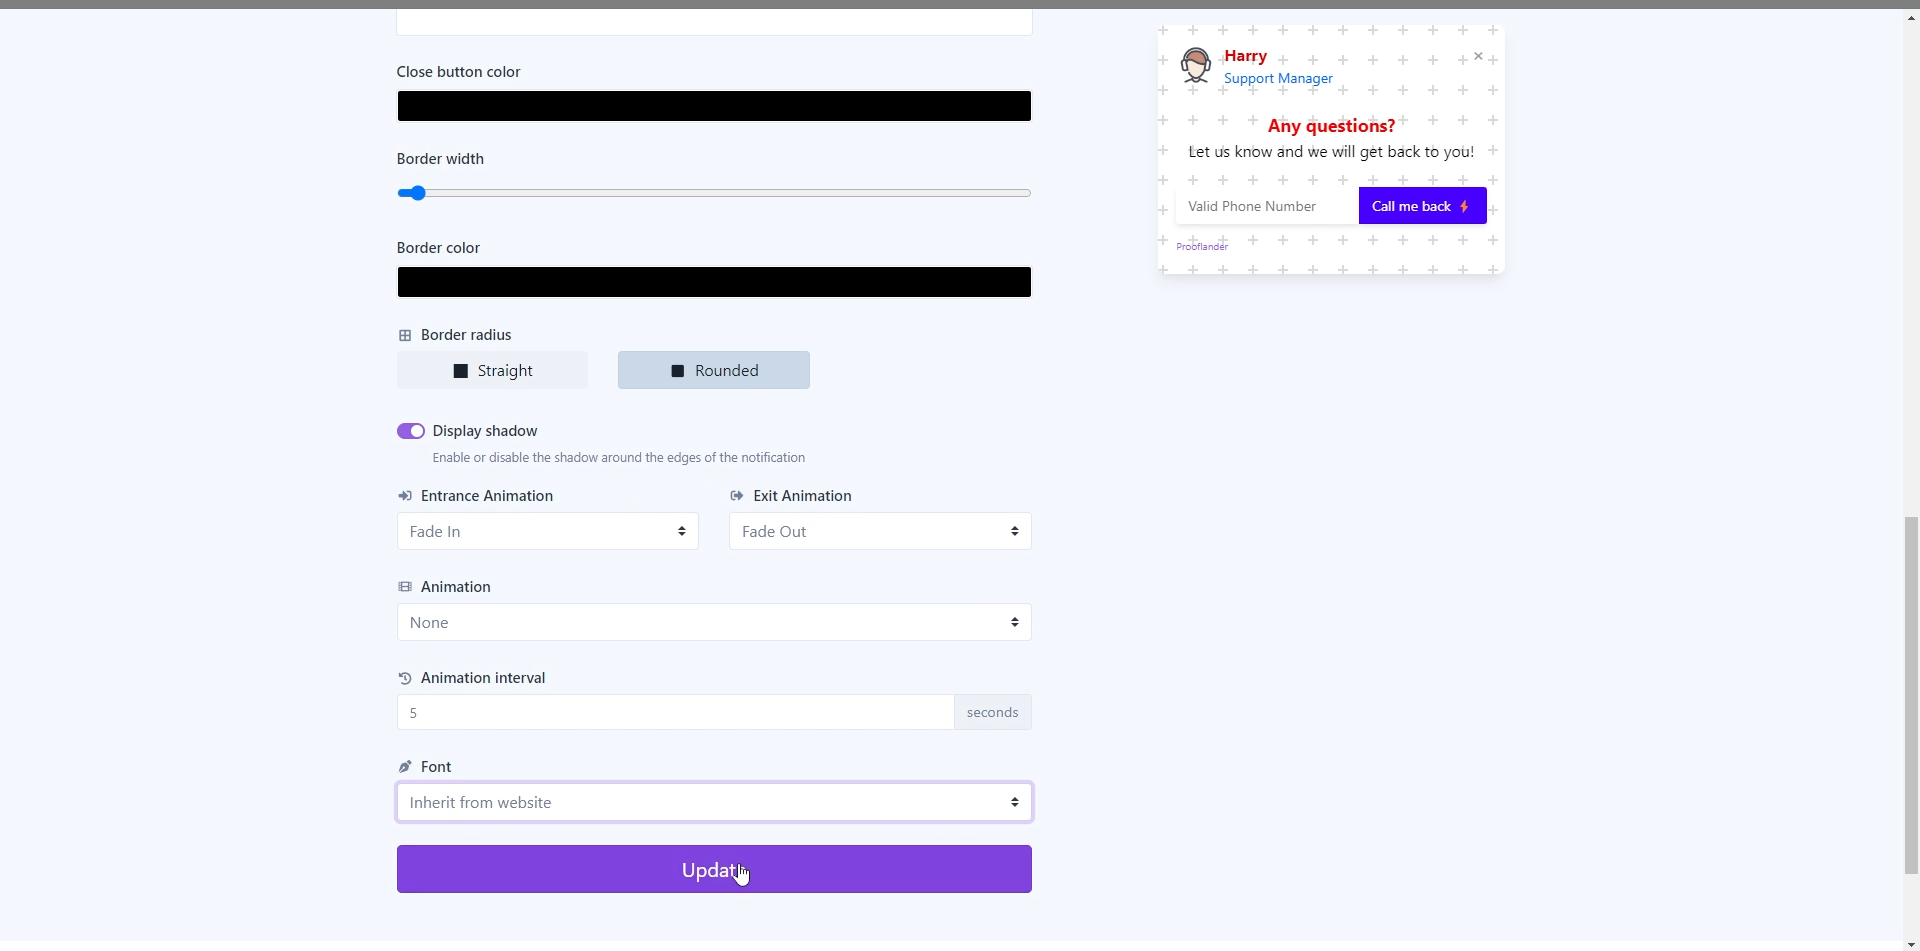
 If you want a straight radius for notification then click on the straight button. And if you want to round radius then select the rounded radius. Enable of disable the shadow button according to you.
 Choose the entrance animation or exit animation accordingly. And animation of your notification. Now select the animation interval time. In the fonts section you can select the fonts according to you or you can set it on inherit from website so that it select according to your website fonts. Update it now.
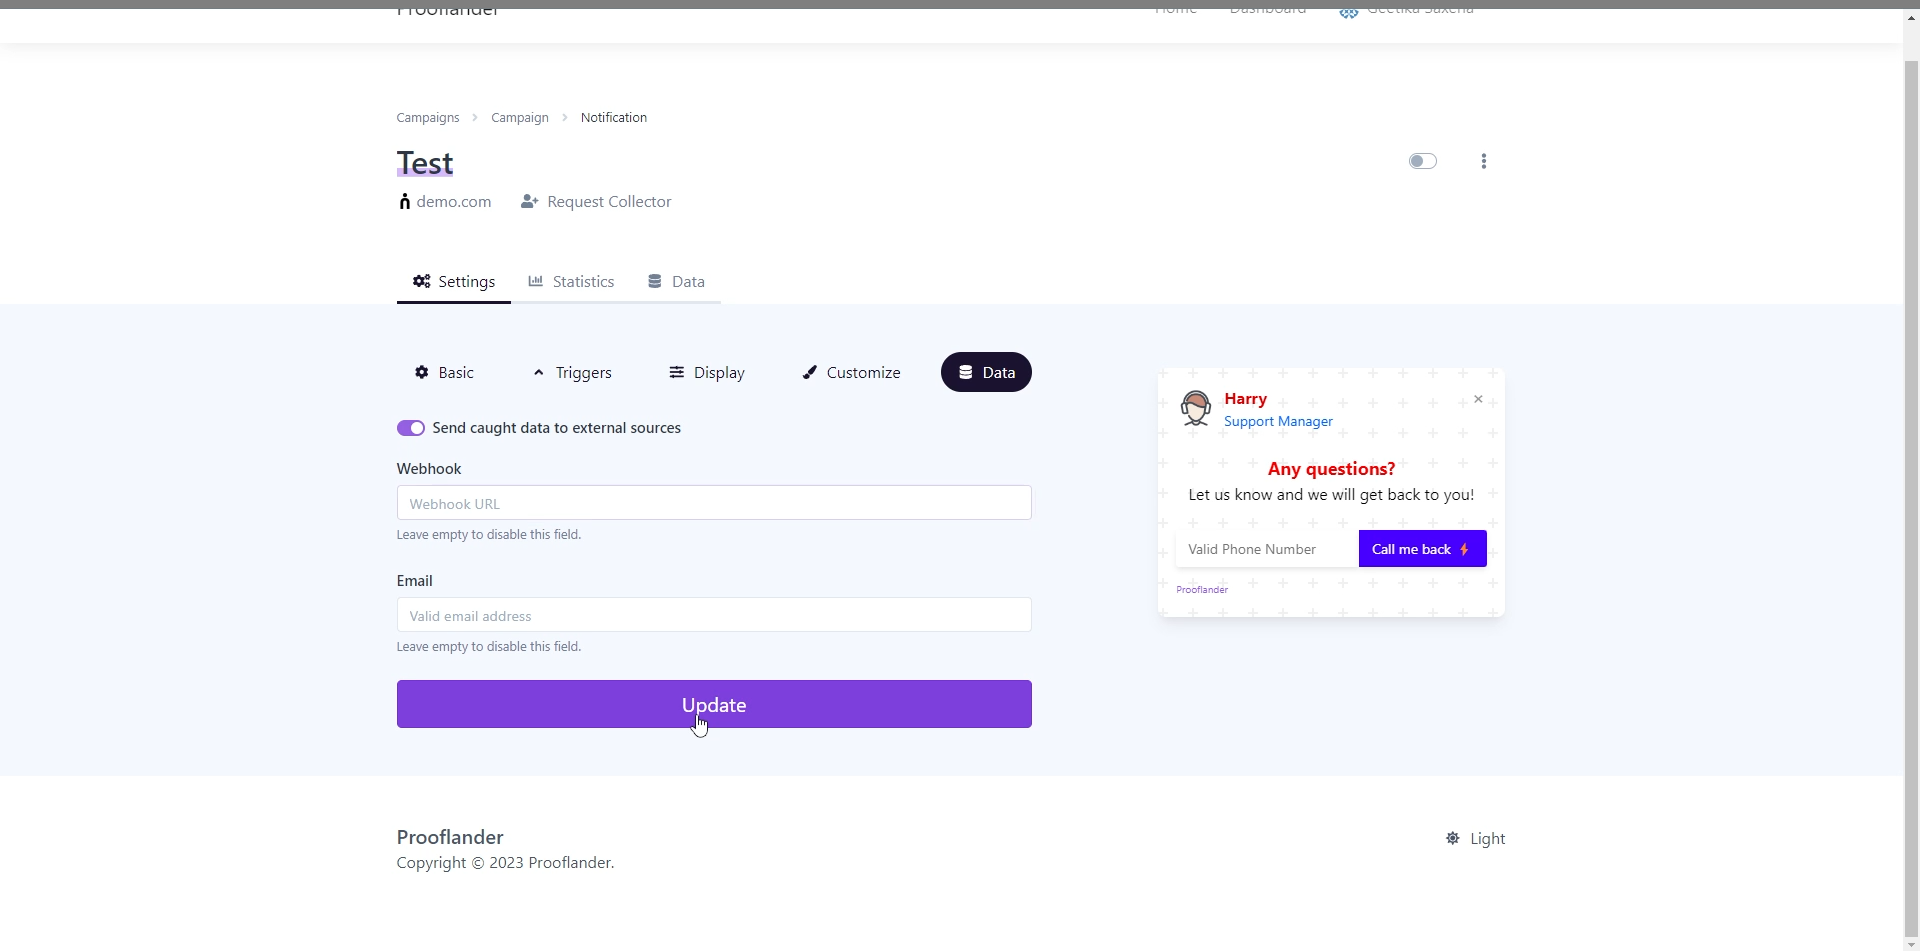
 Now go to the data section. Enable this button and give the webhook URL and email address. After completing all these processes click on update button. It’s done now.
Now copy the pixels and paste it on your website.
 Now open your wordpress and go to the plugins section.
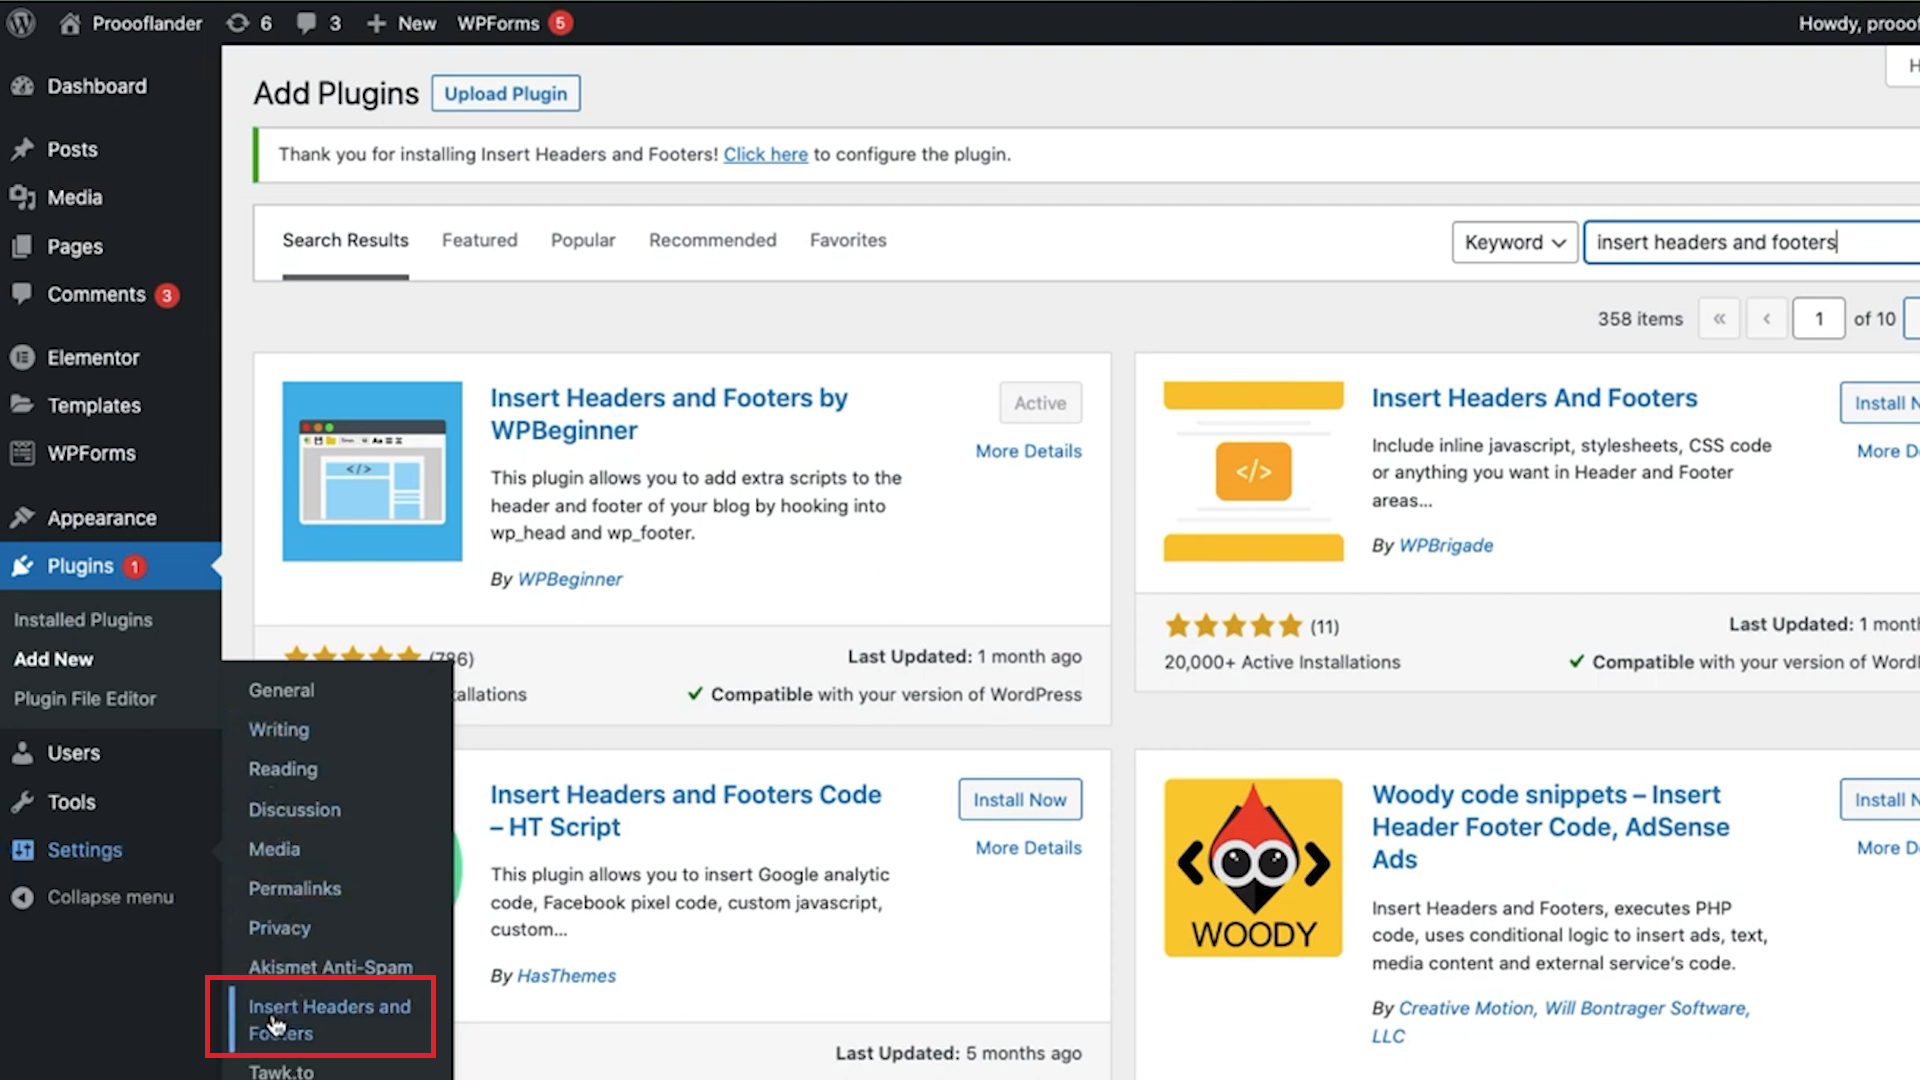
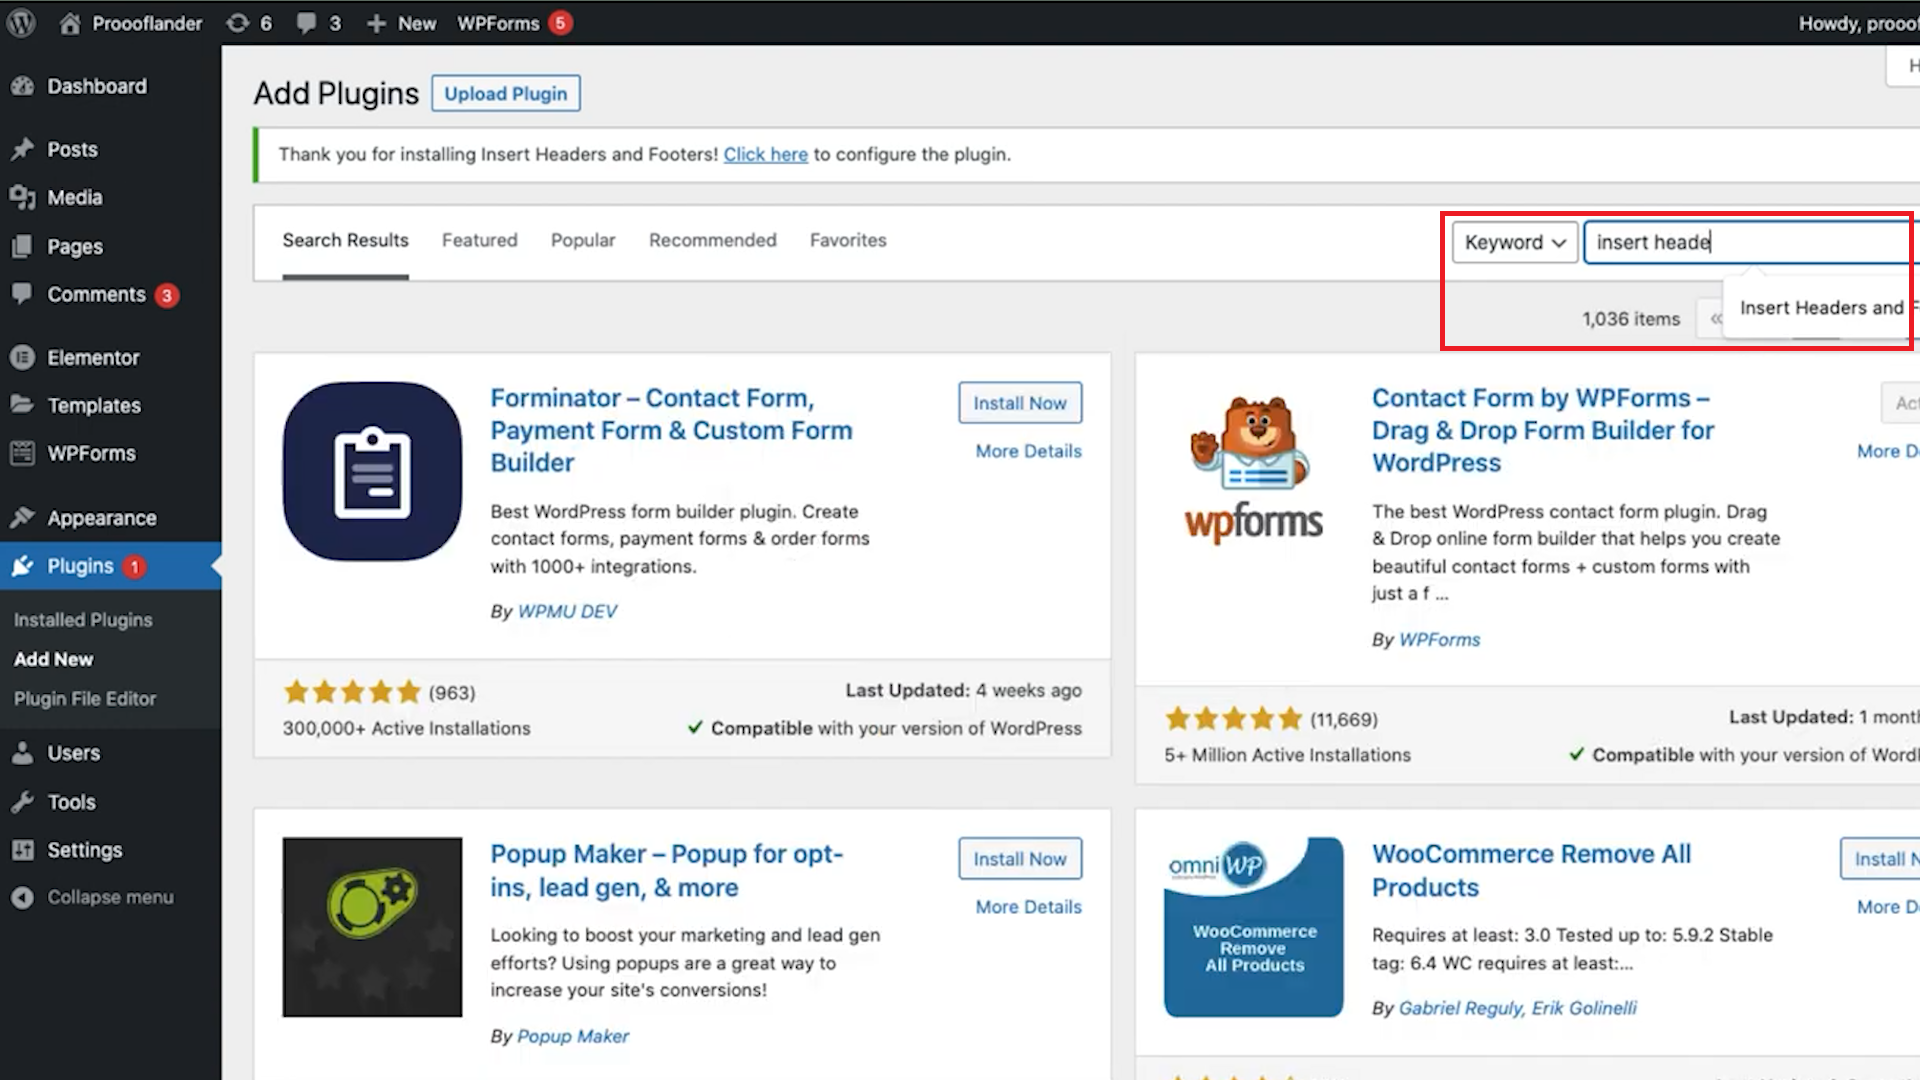 Search insert header and footers plugin and install it.
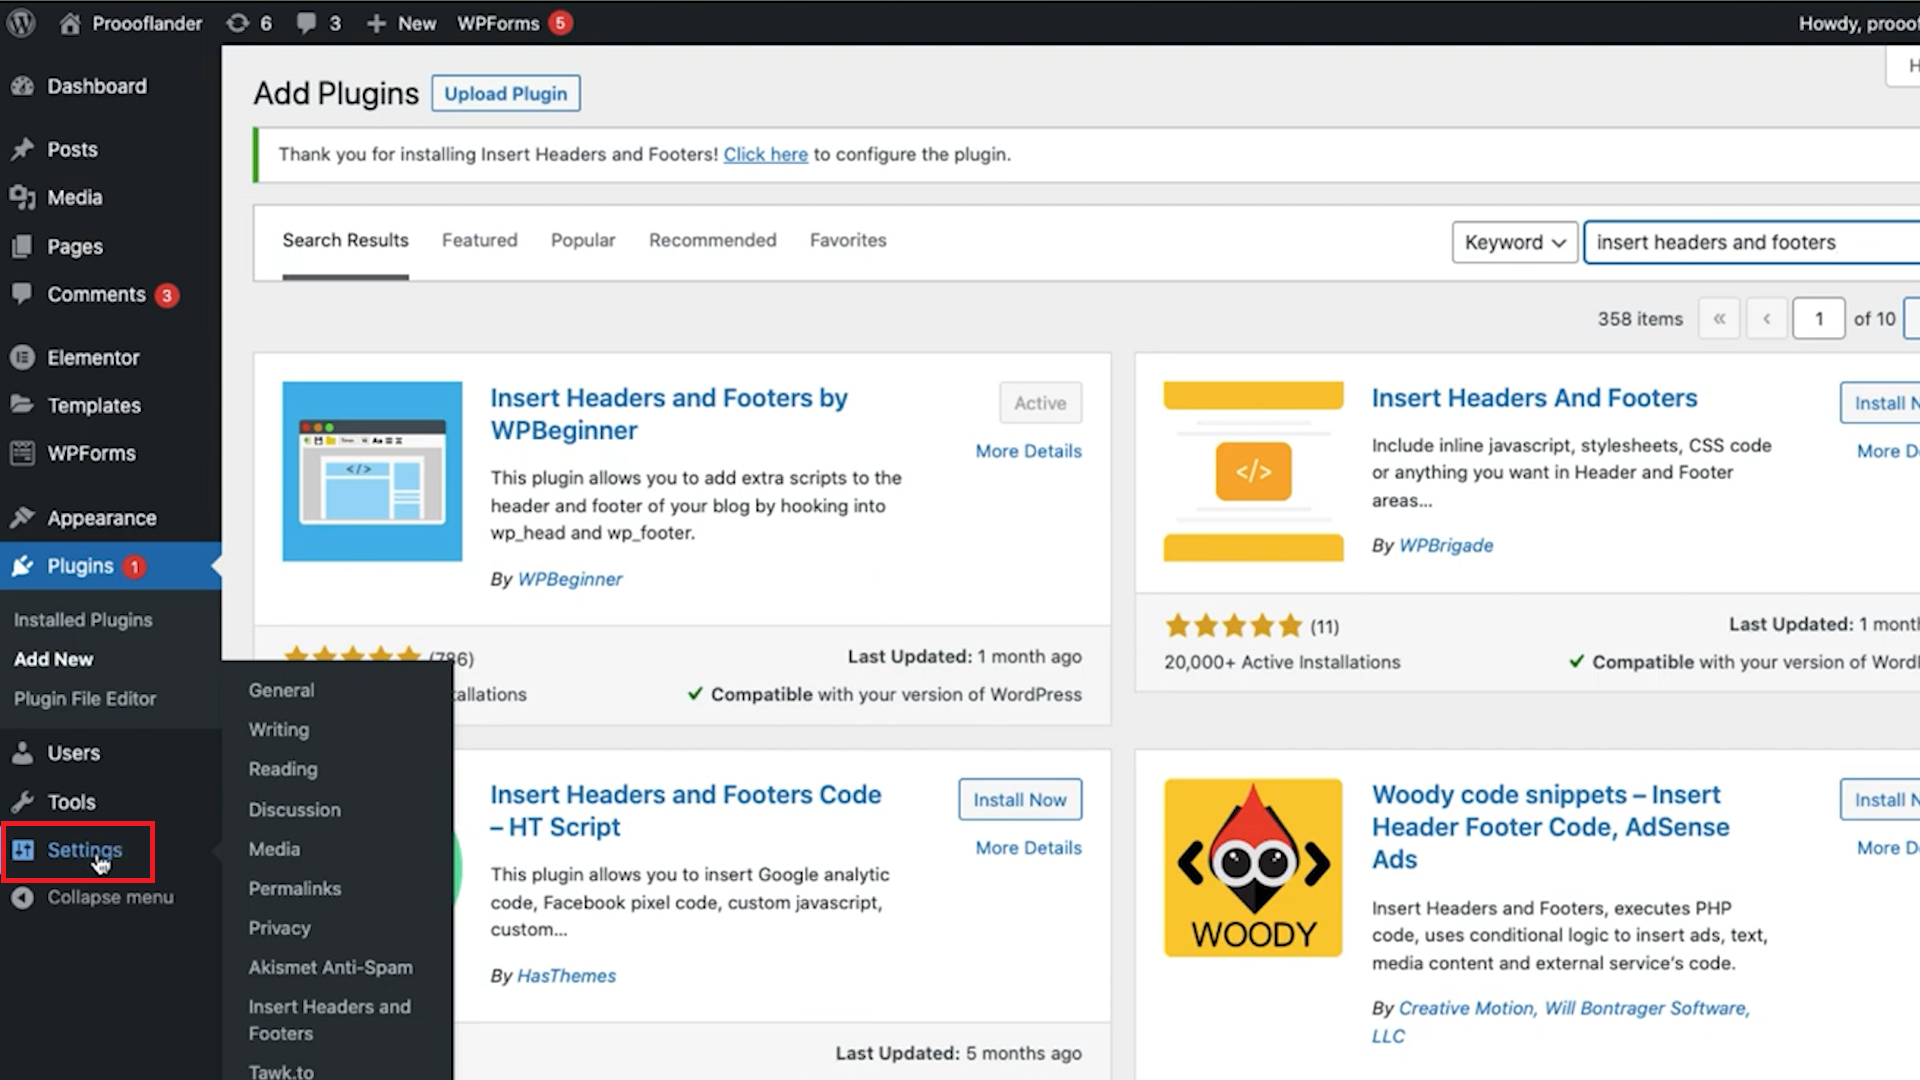
 As you see my plugin is already active.
Now go to the settings section.
 And click on the insert headers and footers option.
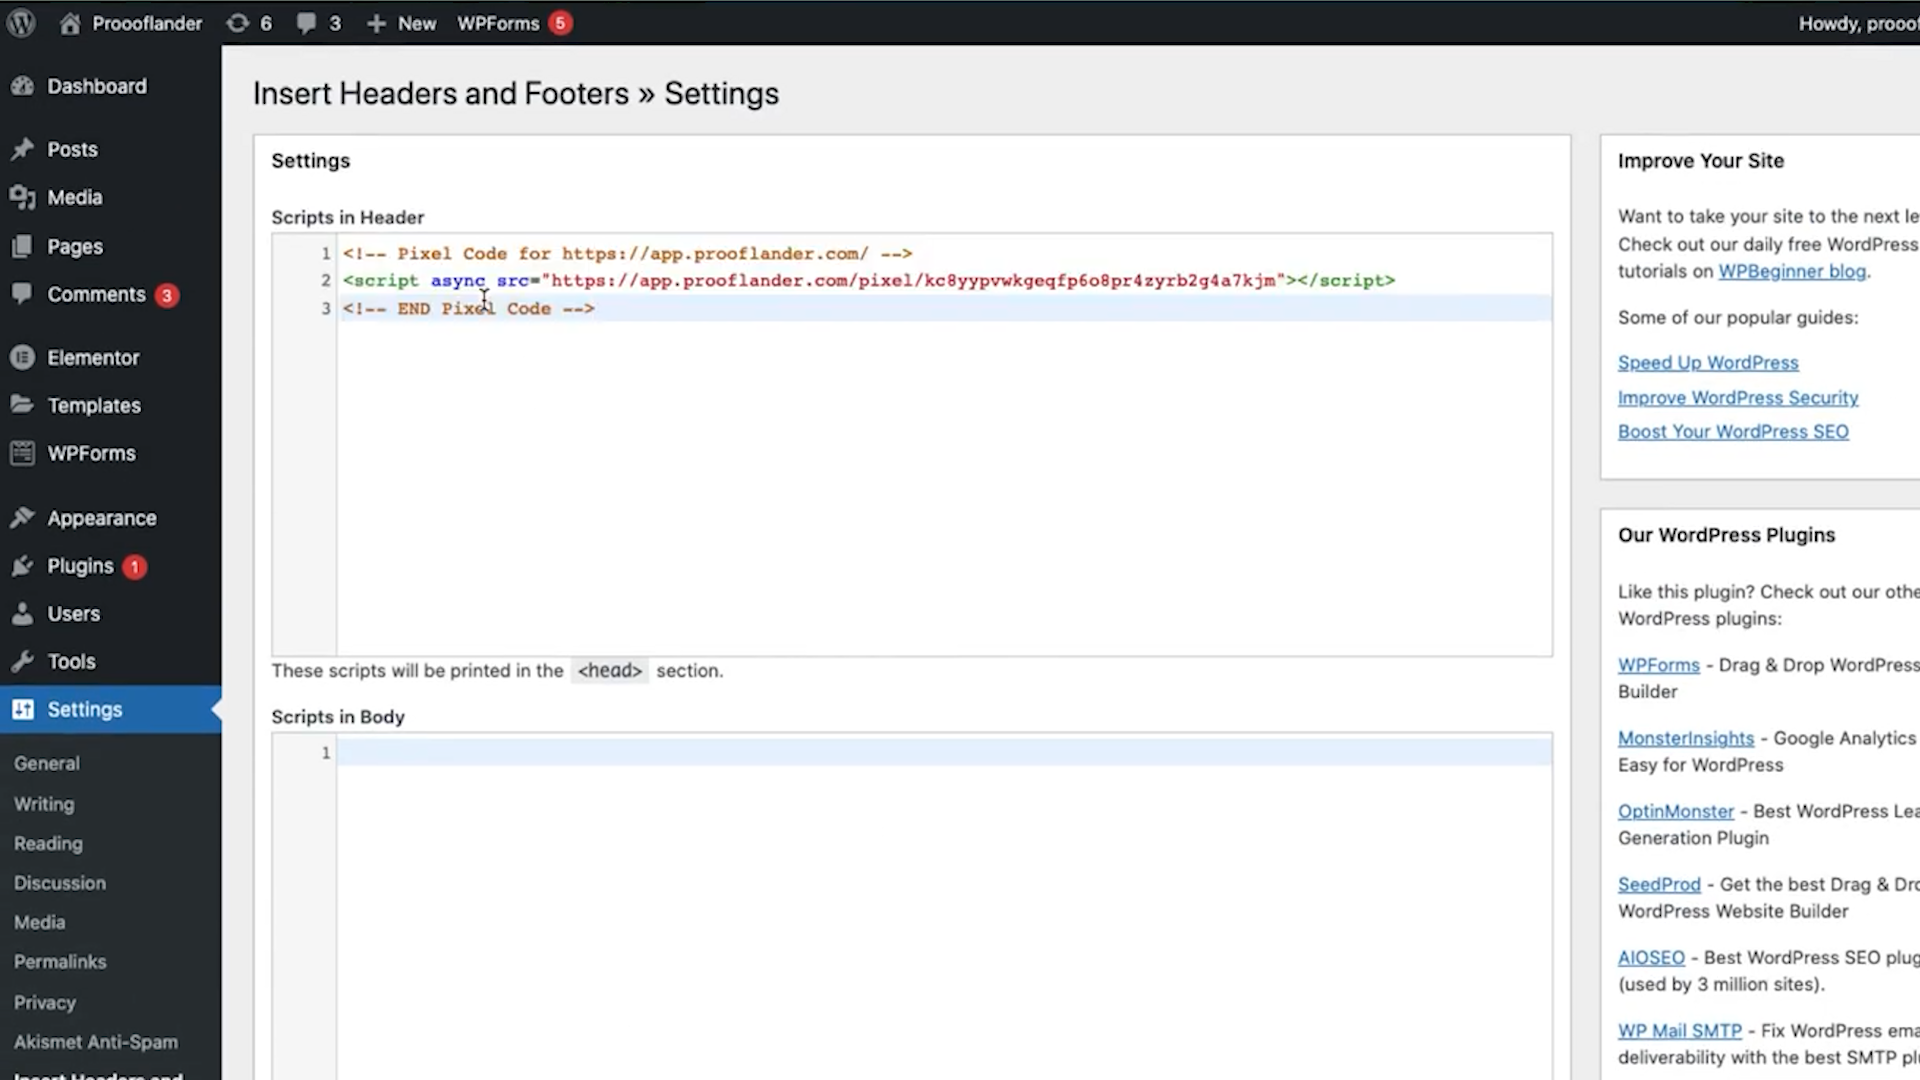
 In the first dialogue box paste the JS code.
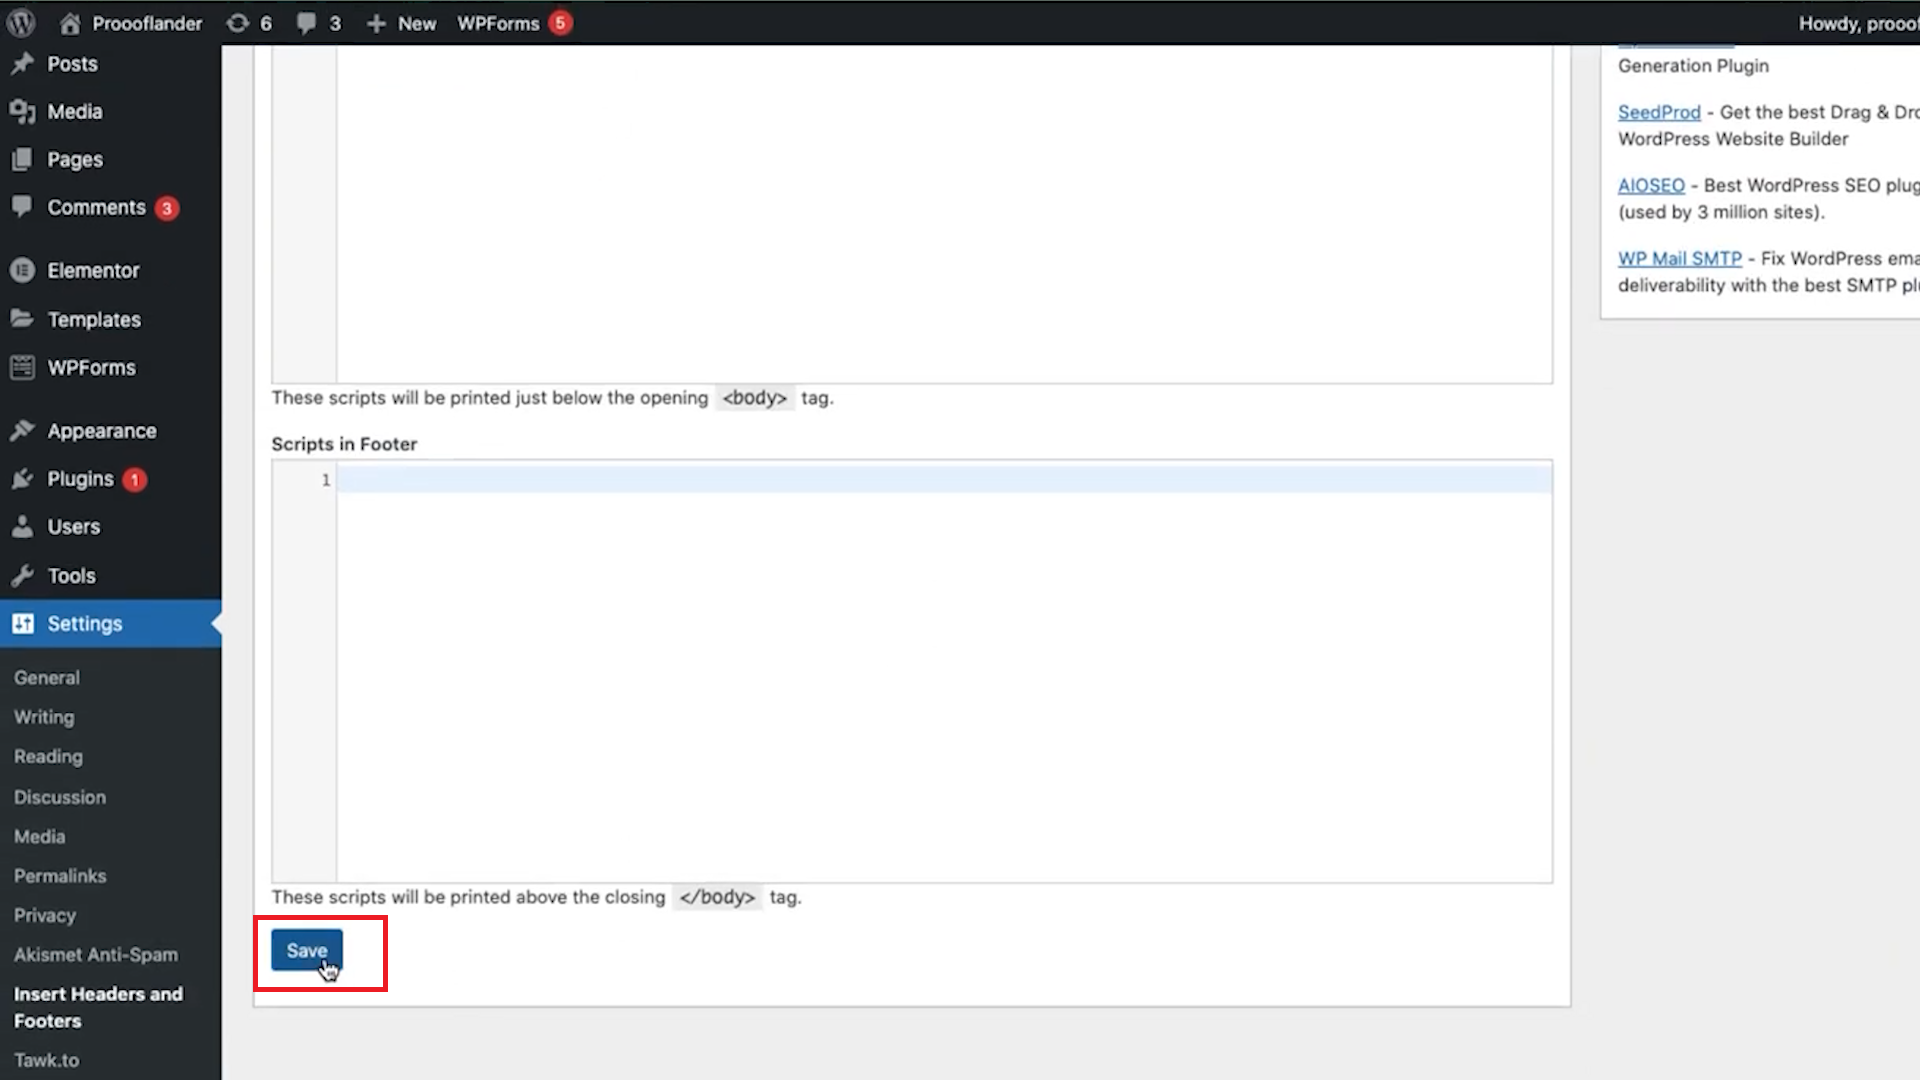
 And save it.
Now go to your website. And refresh the page. So here you can see your notification. Its working fine.
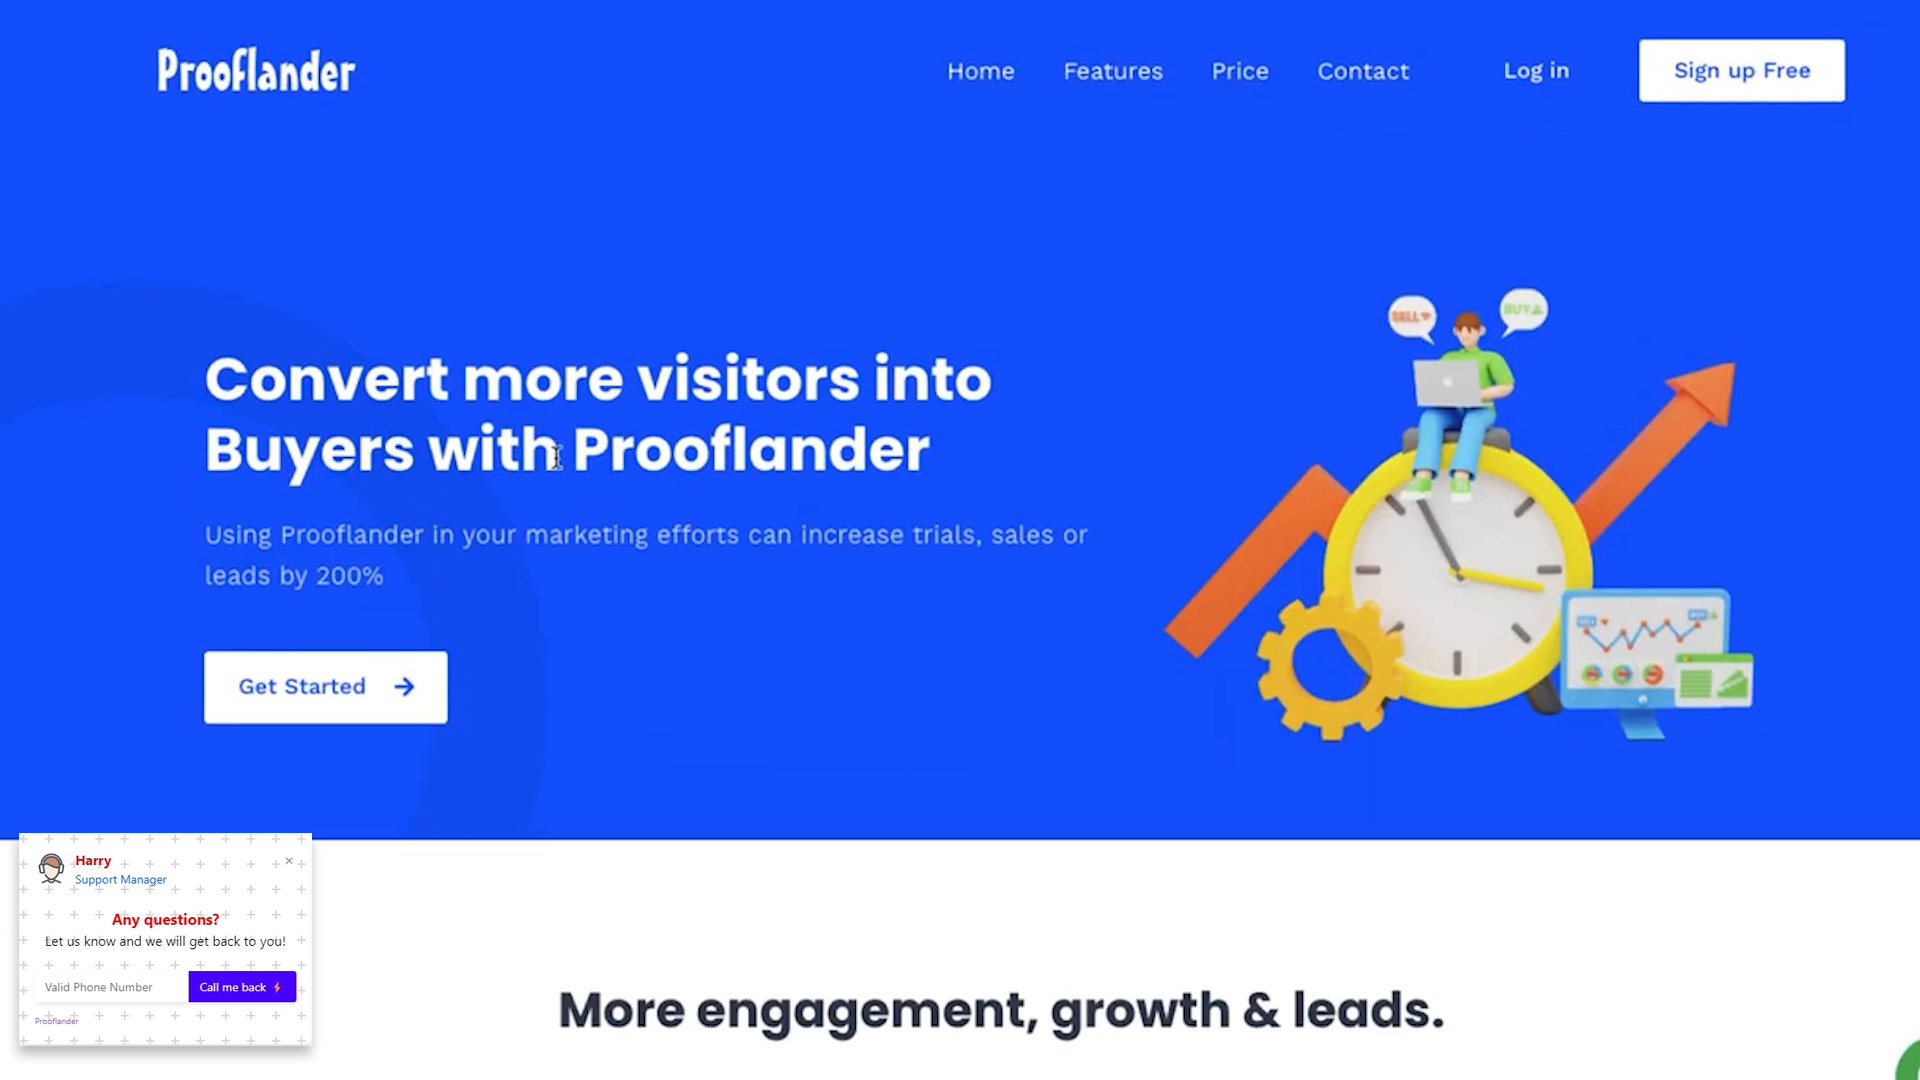
That’s all. Thank you